Oh well what to do, i thought nah bugger it im still doing the test. Then the weather kicked in 38deg c one day and the same the next.
My wife went to spotlight to grab some nylon material for the graphics, bought the one we saw the week before. I had all the resin and catalyst, the pump was finished, although no gauge yet and all the glass and plastic had been cut.
 |
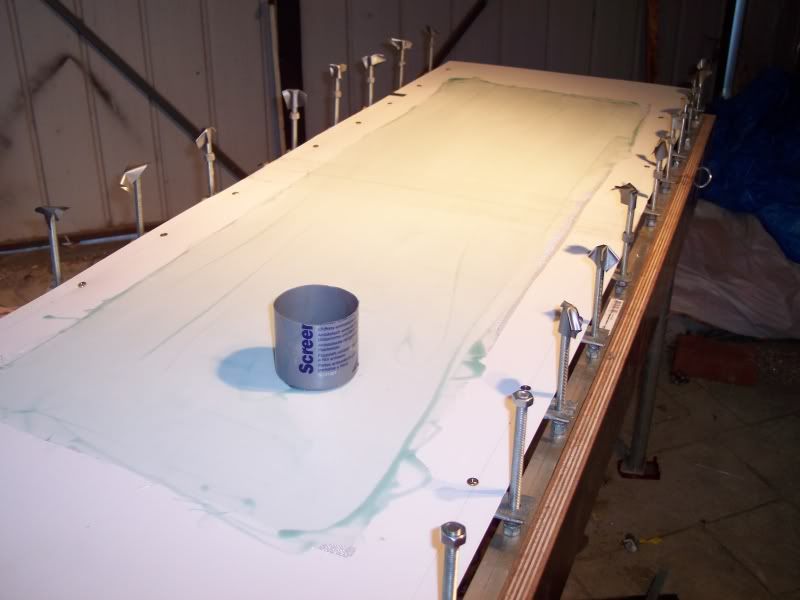
| Nice bright yellow material in a pirate theme. |
I saw a video from foamnfibr on youtube where he used pvc sheet for the top of his board with cotton and no breather or peel ply at all. So with not having that stuff yet i decided this was the way i was going to do it.
I didn't have a board cut out of foam or ply yet so this test was to see if i could make a top sheet.
So, with a top temp of 38 there was no way on earth i was going to try to do this on Saturday. Sunday morning came and it was around 630 am and about 20 degrees c. Yep its time.
So out to the garage i went and started to set things up. Oh before i go any further i decided to run two vacuum tubes from the table to the pump, why? who knows but here is how i set up the "T" piece. A brass tee with brass nipples. The 6mm tube didn't fit over it , i used some bigger tube, coated the edges with silicone and the same on the smaller tube and pushed it in to each blue tail till it stopped. I tested the seal and it worked great, no leaks anywhere in the whole system.
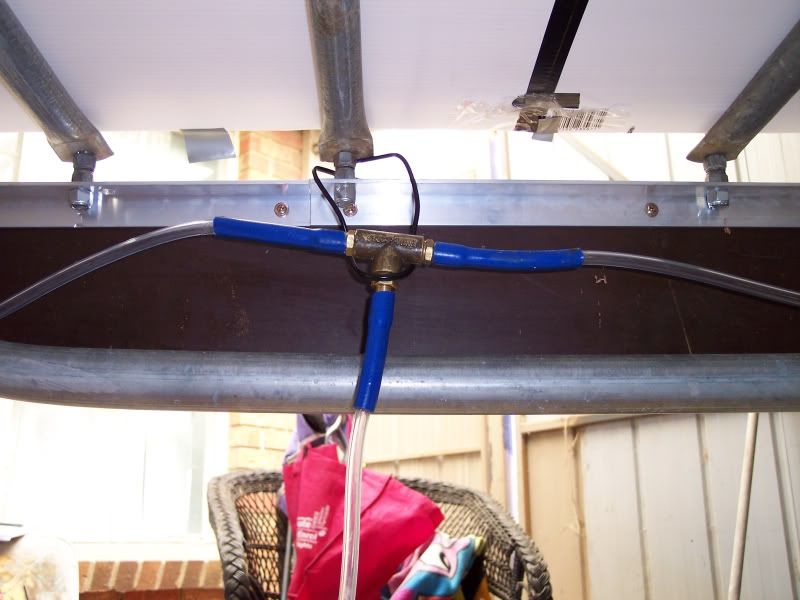 |
| "T" piece.... |
Catalyst User Guide
I printed this out and used the exact amounts specified on it.
I poured out 250 grams of resin and put 3.8 mls of catalyst in the syringe as specified on the sheet.
 |
| scales turned themselves off, 250 grams + 3.8mls = sheet |
I laid out the first sheet of glass (cant remember the weight) and proceeded to pour about half the resin on.
 |
| glass wetted out....7am... |
I didn't put down a resin layer before the cloth went down. This wasn't about getting a wiz bang finish, it was about getting things ironed out and getting confidant in the processes i would use in the future.
I was pretty happy with the first layer, a lot easier than i expected to be honest.
In time it is about 20 minutes into the job.
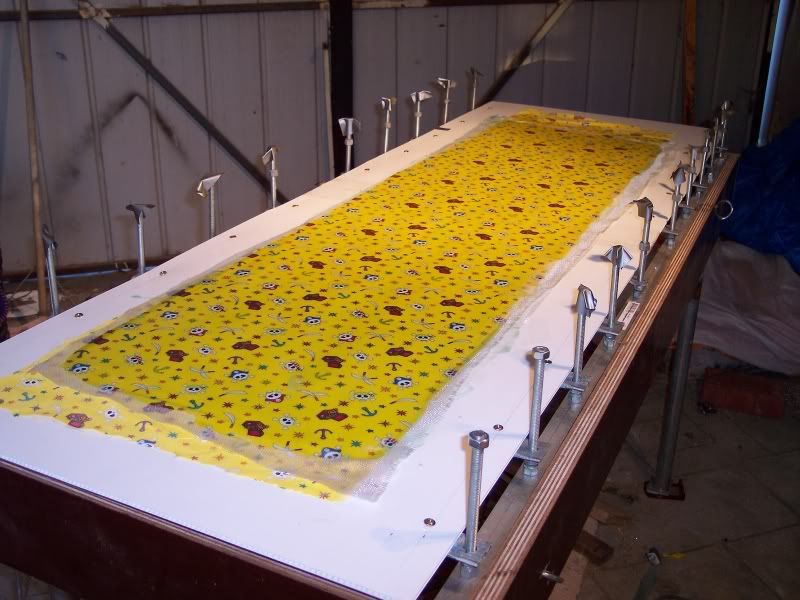 |
| cotton down and glass over the top |
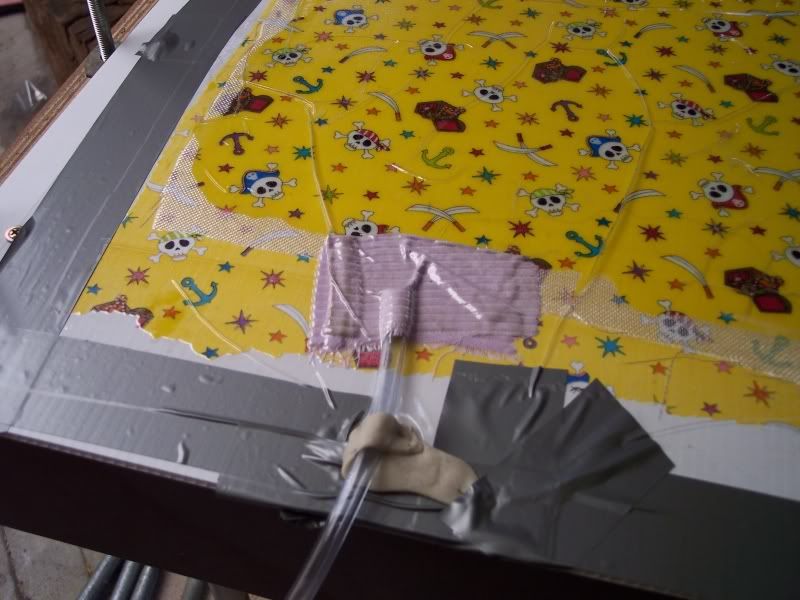
Ok time for the pvc. I rolled it out and realised that i had cut it too short, ahh crap. Oh well , i cut another piece and taped them across the far end. I then proceeded to tape the rest of the plastic down. The tape i used was normal duct tape.
I used some putty i had laying around to seal the tubes in each end and placed a piece of old cloth over each hose inlet under the plastic.
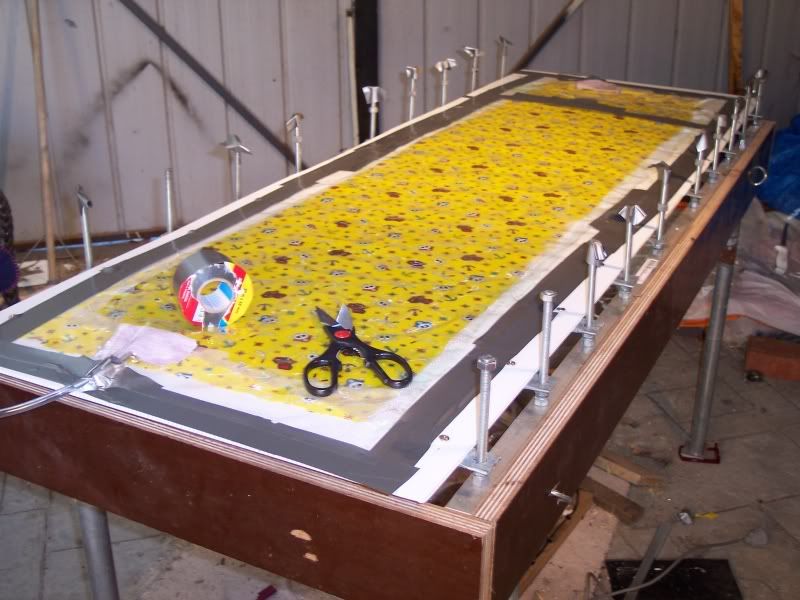 |
| Sealed down, almost..... |
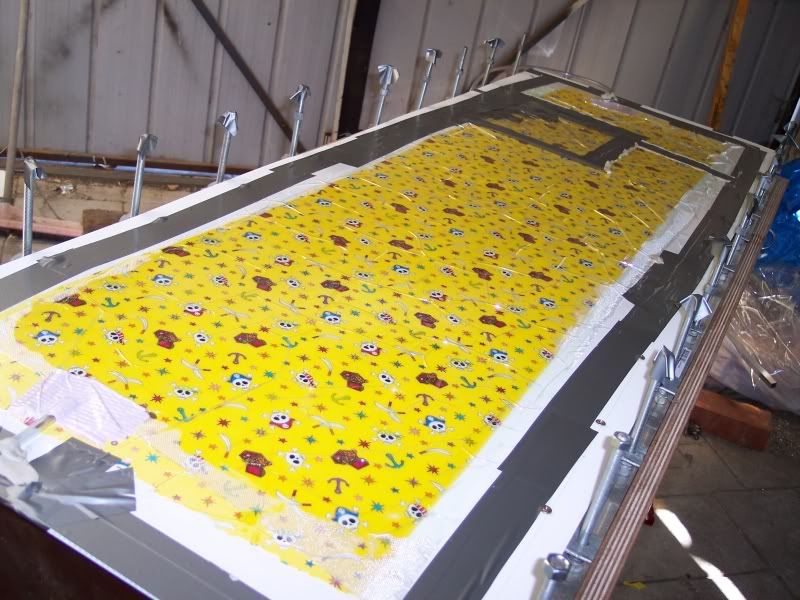
The big test was here. I was about 35 to 40 minutes into it, pretty good i reckon for the first time i had done this. The pump started and the pvc began to pull down. I had a leak around each hose either end. I mucked about and sealed those down without many worries. The close end in the picture really pulled down well so much so that you could see where it edged around the cotton, the other, not so .
 |
| plastic pulled down around cotton edge, now that's a seal!! |
Where i had joined the two pieces of plastic wasn't air tight, so i fooled around for about 15 minutes and got a good seal, but the far end still had a small leak somewhere that i just could not find. I put a separate patch over it and tried to seal where i heard some air. But it was pulling down ok so i didn't worry about it too much.
The pump didn't stop at all for roughly 4 hours, i was only going to leave it all on until it cured anyway. I was happy as it was a good test for the pump too.
When i felt the edges that had some built up resin that had hardened , i thought yep that's enough of that. It wasn't going to force down any more than what it had done already. I peeled of the pvc and to my surprise it just came straight off, not tugging or forcing at all. Just a firm pull.
When it came time to lift the sheet from the table i was totally surprised that it lifted of smoothly.
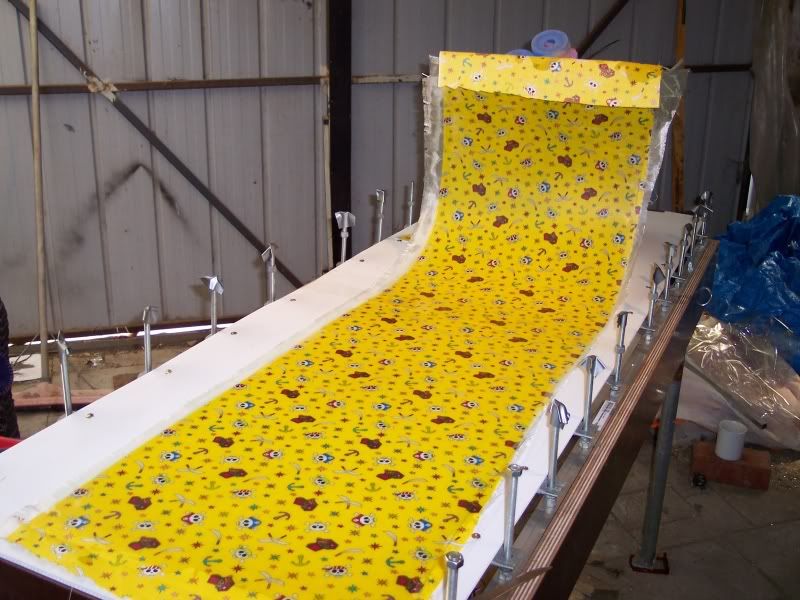 |
| Finished sheet |
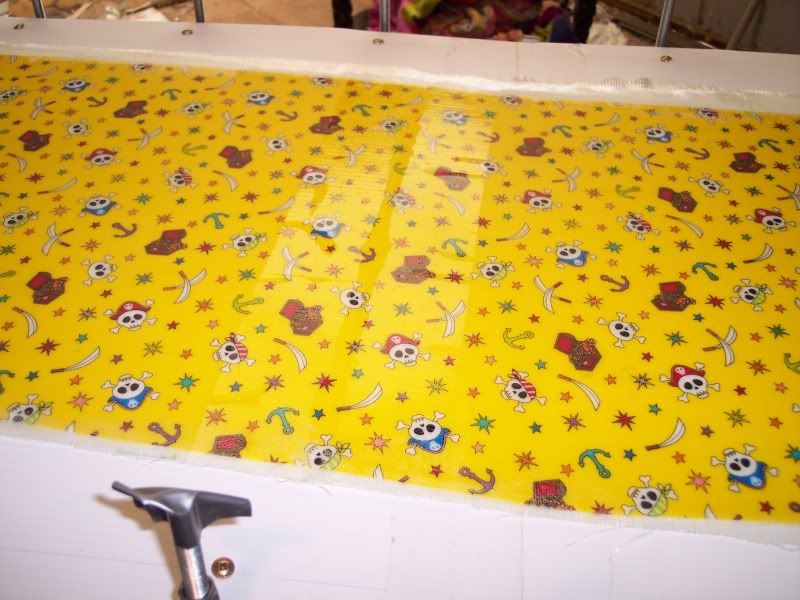 |
| ooh where did that shine come from |
Soo, in the end i am very happy with how it turned out. It was a lot easier than i thought it would be to be honest. It took about 1 hour from setup to the final tape up and pump on and sucking.
There are a few things i would do different next time, but ill leave that for another time and have a bit more of a think. But as a test and first ever time doing this , i would give it a mark of 10/10.
As a finished pre cured top sheet ( well thats what it turned out as) i would give it a 7/10
Cheers
Peter
No comments:
Post a Comment